

English Muffin Toasting Bread
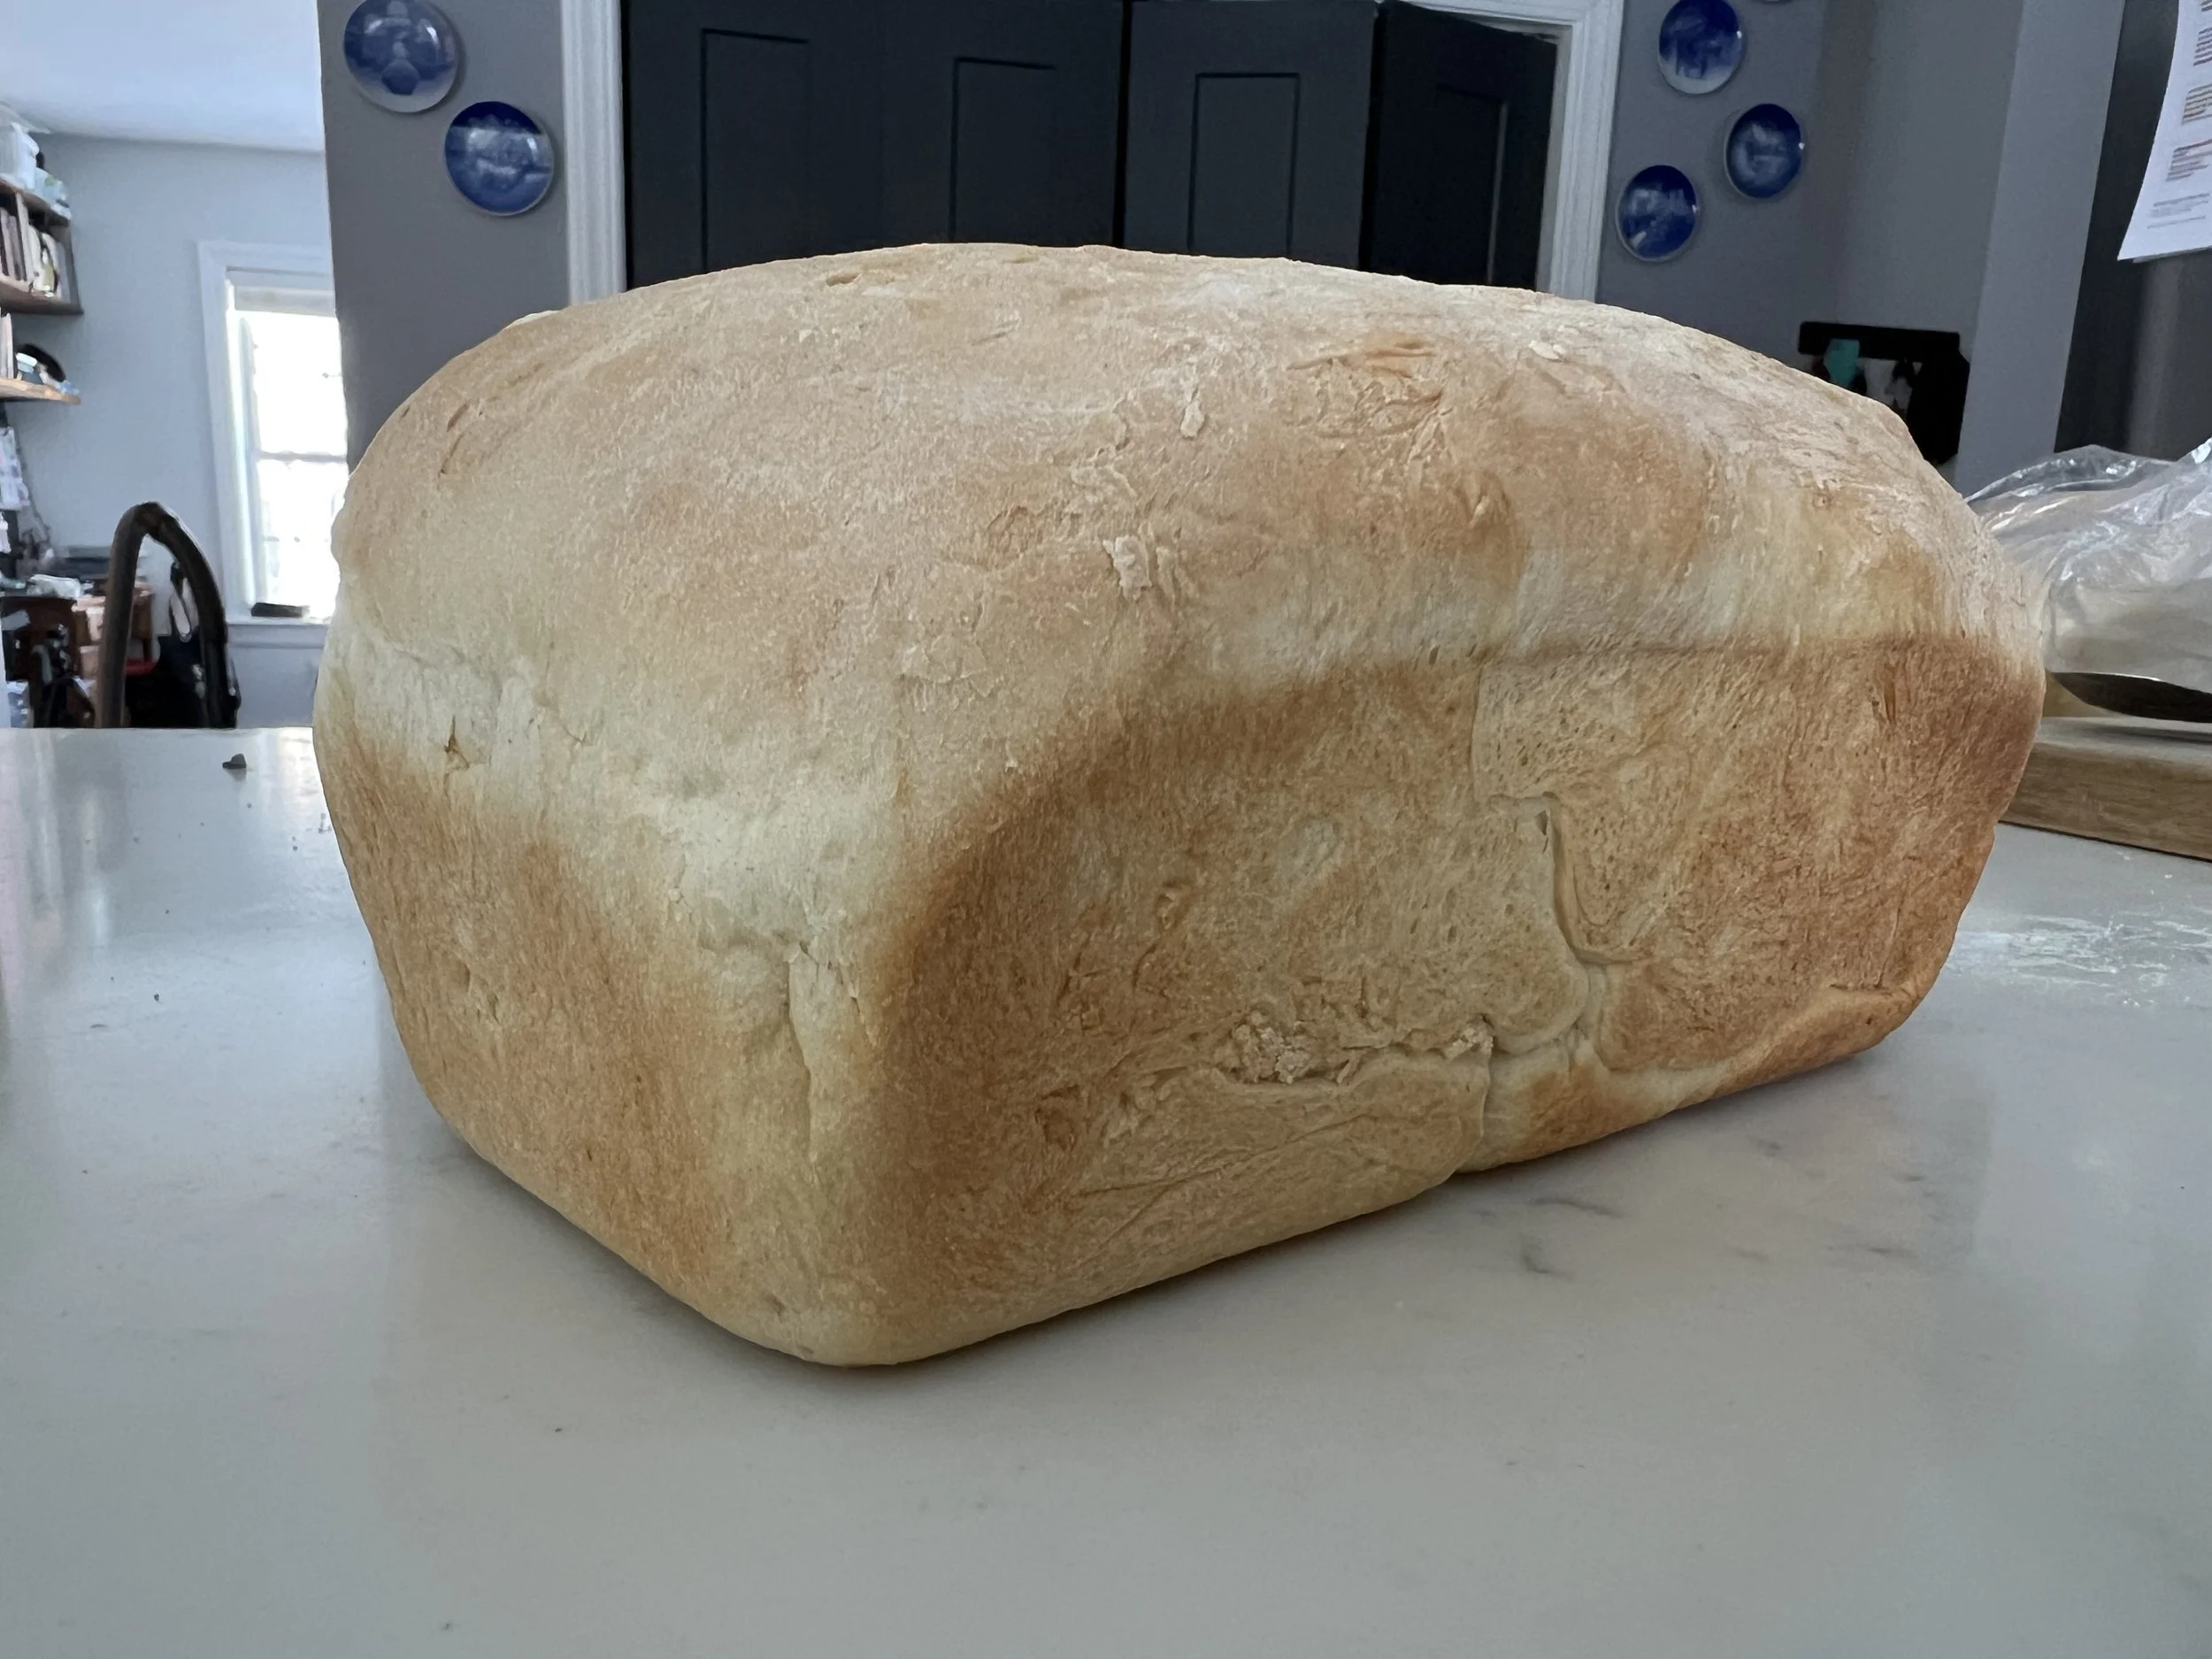
This is one of the easiest bread recipes I make. Mom always made this when I was growing up and it’s still a favorite for all 3 generations in our family. You only have to let it rise once, the bread is a little more dense so it’s a little more forgiving than some other recipes and it is relatively quick.
Some notes:
Learning to read your dough is one of the most important skills to develop as a bread baker. Always start by putting in less flour than the recipe calls for. The weather, humidity, elevation, and barometric presser all impact your dough, sometimes you’ll need all of the flour, sometimes you won’t. You are looking for the dough to pull away from the side of the bowl as it mixes and for it to look smooth and not sticky. There’s a fine line between smooth/not sticky and too hard. Don’t worry too much with this bread though because it’s not super fussy and even if you add a little too much flour, it is pretty forgiving.
You can choose to eat this bread un-toasted, but it is best enjoyed toasted. We use it for breakfast egg sandwiches, toast with butter and jelly, or toasted sandwiches.
We usually use 1% milk, others are fine but can change the consistency a bit.
RECIPE:
2 packages Yeast (4 1/2 tsp)
6 cups flour
1 T sugar
2 tsp salt
1/4 tsp baking soda
2 cups Milk
1/2 cup water
Combine 3 cups of flour with yeast, sugar, salt + baking soda in the bowl of your stand mixer
Heat milk and water in a saucepan on the stove until it reaches 120-130 degrees F
Add warmed liquids to the dry ingredients and mix
Add 2 cups of flour and mix until a stiff dough forms ( I add a little bit of flour at a time if the dough still seems sticky)
Knead well and divide into 2 loaves- shape your loaf into a recangle shape and put into greased loaf pans
Cover with a towel or shower cap and let rise for 20-30 minutes
Bake at 400 degrees for 20-25 minutes